It Doesn’t Have a Leaving Date. It Doesn’t Sleep. And It Has Access to Everything.
Let me introduce you to Dave.
Dave from Compliance is lovely. He’s leaving next Friday, he’s just retired, and he’s just discovered he can sync his entire OneDrive to his personal laptop. Dave isn’t doing this maliciously. He’s just a human with a deeply misguided sense of which files are ‘his’.

Now meet Dave’s replacement. No notice period. No offboarding checklist. No HR signal. It’s an AI agent ….and it’s already inside your environment, reading files, summarising documents, and traversing your SharePoint sites at machine speed. The agent doesn’t mean any harm. But if your data estate is a digital junk drawer with no labels, no classification, and no DLP, it doesn’t need to.
The Insider Risk Problem Just Got a Lot More Complicated
Insider risk has always been a human behaviour problem. The firewall was never the issue. It was always the person on the other side of it. But the conversation has shifted. Dramatically.
The Gurucul 2026 Insider Risk Report, produced in partnership with Cybersecurity Insiders, reports that 94% of organisations say AI adoption is increasing their insider risk exposure, 74% describe that increase as moderate or significant, and 90% experienced at least one insider incident in the past 12 months. These are not niche concerns. That is the entire market sweating through its shirts.
For UK financial services firms, the stakes are even higher. The FCA’s PS26/2 rules on operational resilience set incident reporting deadlines that begin in 18 March 2027, which means that ‘we did not know’ is no longer a defensible position. An Insider Risk Management programme is not a nice-to-have. It is a regulatory expectation wearing a cybersecurity badge.
Enter the Digital Insider
Risky AI usage is no longer limited to someone pasting a sensitive paragraph into a chatbot. The bigger shift is that AI is becoming part of day-to-day business operation. With Copilots, custom agents, and autonomous workflows can now retrieve files, reason across multiple sources, generate summaries from sensitive material, and in some cases take action on a user’s behalf.
Experts describe agentic AI as a new class of ‘digital insider’. Gartner predicts that 40% of enterprise applications will integrate task-specific AI agents by the end of 2026, up from less than 5% today. These agents are not malicious. But they are privileged, persistent, and capable of operating at machine speed. All without a leaving date, a notice period, or a natural sense of ‘I probably shouldn’t be reading this.’
The Microsoft Security Blog cites Microsoft Data Security Index findings that 84% of organisations want greater confidence in managing data input into AI applications, while 78% of users admit to bringing their own AI tools to work. The risk is not theoretical. It is already in your environment.
What Makes Agentic AI Different from Dave
A traditional user might search for one document at a time, open a small set of files, and manually decide what to do next. An agent does something very different.
- It can query SharePoint sites, Teams content, emails, and repositories in rapid sequence.
- It can pull fragments from many locations and assemble a high-value answer from data that was never intended to be viewed together.
- It can surface confidential project plans, customer records, financial forecasts, source code, and credentials stored in long-forgotten collaboration spaces.
- Security researchers have shown that prompting and retrieval patterns can be abused to turn AI assistants into reconnaissance tools – asking them to identify where passwords, keys, legal terms, or commercially valuable information may exist
- This is something I’ve tried in multiple clients, a simple search by Copilot to look for documents with the words passwords (these are documents that are shared using ‘People in the Organisation’ option showed a handful of documents in .xlsx and some even in .docx format).
The risk expands further with computer-use style capabilities. Microsoft Copilot Studio’s computer use feature allows an agent to interact with web and desktop applications through a virtual mouse and keyboard. If a person can click through a finance app, enter data into a legacy system, or extract values from a browser session: an agent may be able to do the same. The desktop becomes another high-value discovery and potential exfiltration surface.

The key risk is shifting from simple data exposure to delegated authority. The real concern is not only whether AI can see sensitive data – but whether it can use that data inside connected workflows, across systems, and without the natural limitations of human judgement or working hours.
The Foundation You Cannot Skip
Before you can detect a Digital Insider — human or machine — you need to know what they are after. This is where most programmes collapse: they try to run IRM on top of a data estate that is basically a digital junk drawer.
The foundation is threefold, and none of it is optional:
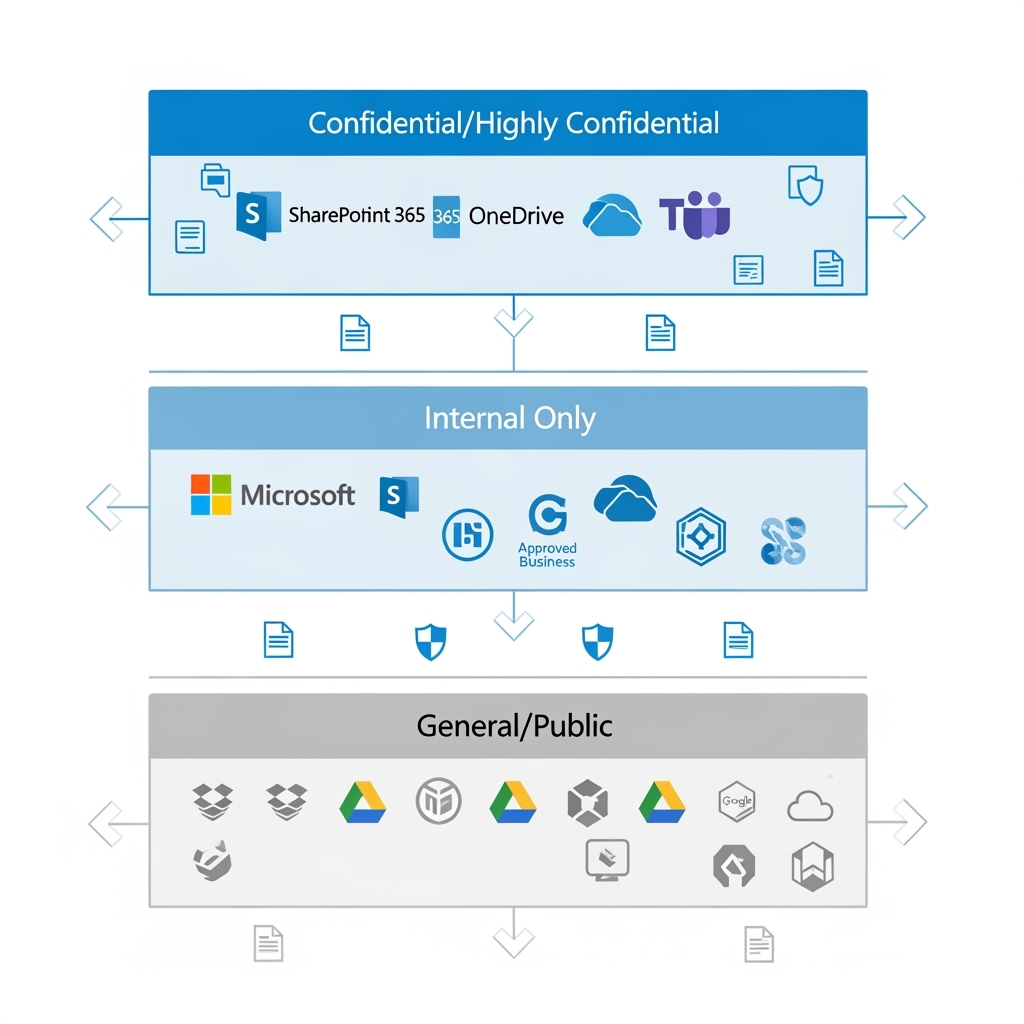
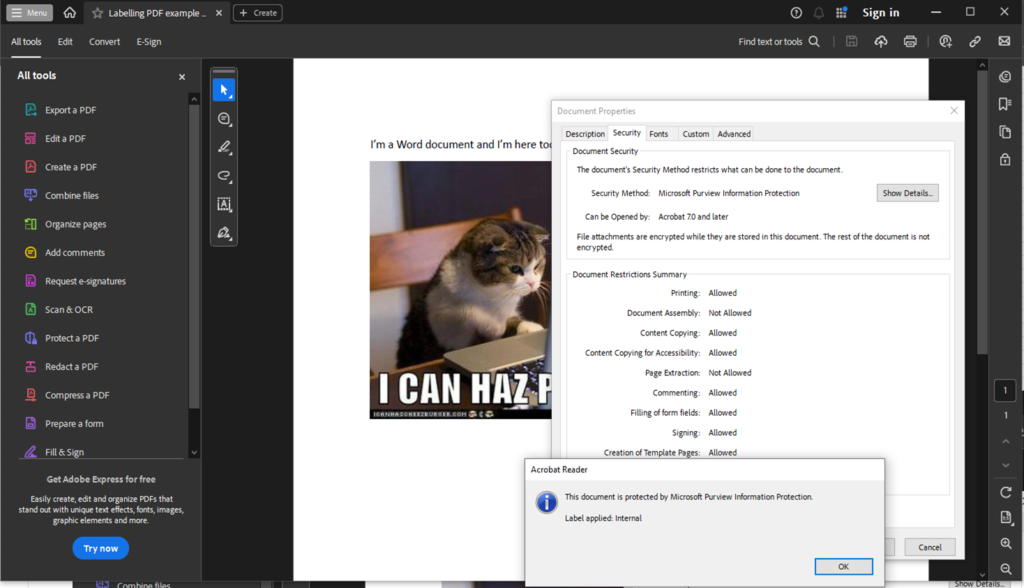
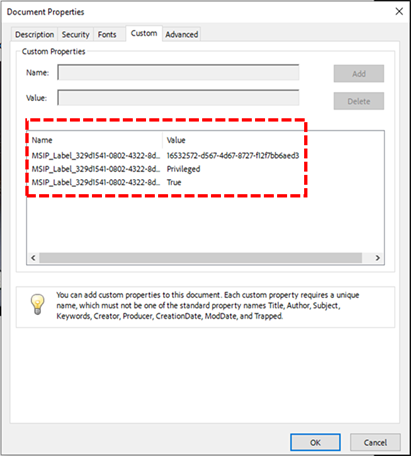
1. Sensitivity Labels. Your data classification backbone. Without them, every file looks equally important — which means nothing is. In Microsoft Purview, labels like Public, Internal, Confidential, and Highly Confidential give you a taxonomy that both humans and automation can understand.
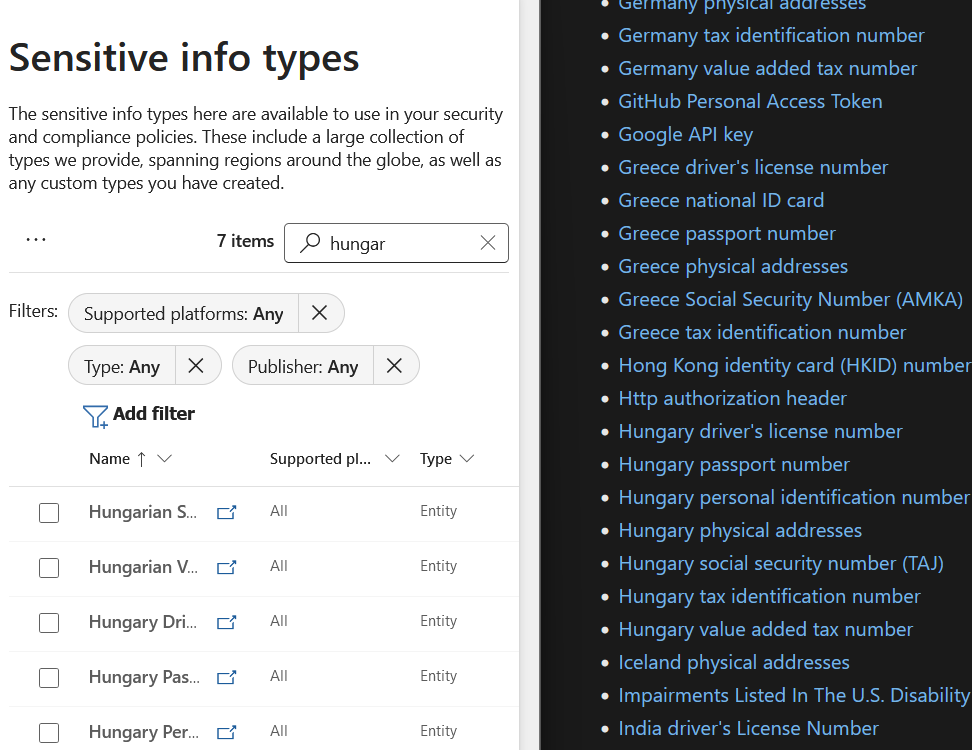
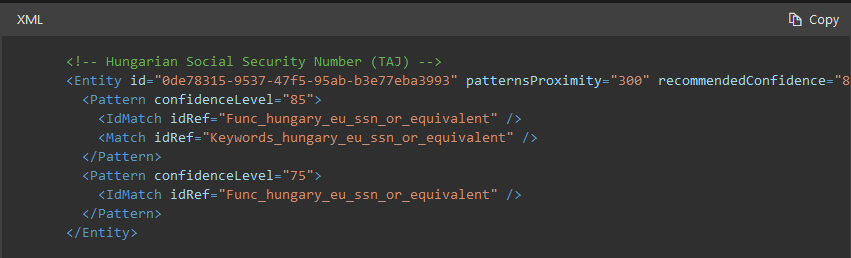
2. Sensitive Information Types (SITs). The pattern-matching engines that recognise credit card numbers, National Insurance numbers, bank account details, and custom regulatory identifiers. You cannot build DLP or IRM without tuned SITs.
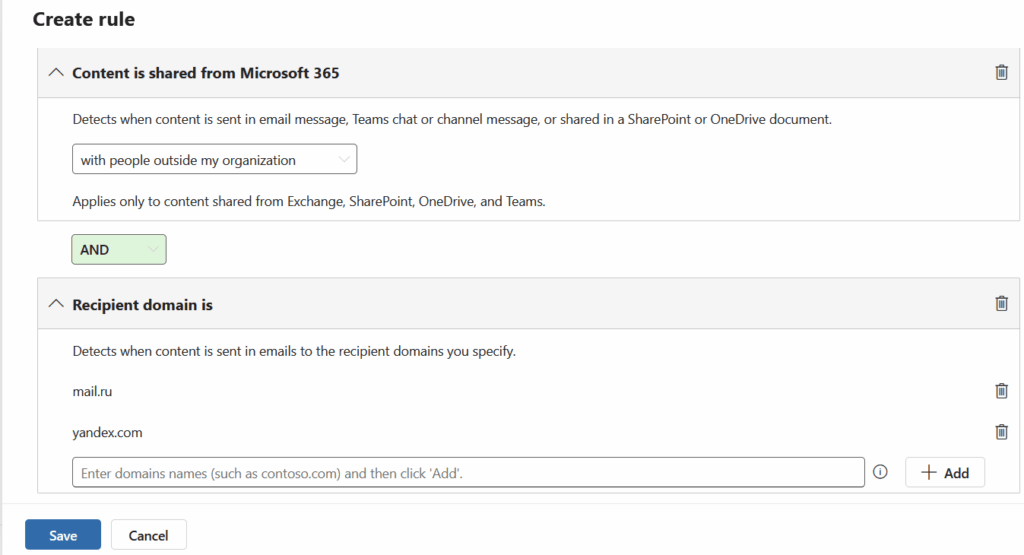
3. Data Loss Prevention (DLP). Your first line of defence. It stops the easy mistakes — the accidental email to a personal account, the unsanctioned USB copy, the public SharePoint link. Crucially, DLP gives you the enforcement muscle before IRM gives you the investigative nuance.
If you do not have these three in place, your Insider Risk Management programme is just a very opinionated alerting system with no teeth.
An AI agent cannot respect a ‘Highly Confidential’ label if no such label exists. DLP cannot block exfiltration of customer data if DLP is not configured. And you cannot investigate anomalous agent behaviour if you have not defined what ‘anomalous’ means for a non-human actor.
Governing the Digital Insider with Microsoft Purview
The governance response has to be equally modern. Once your data foundation is in place, Microsoft Purview provides several layers specifically designed for the agentic AI era:
- DSPM for AI: Discovers where AI is interacting with your data, identifies oversharing, and surfaces where sensitive information may be exposed to copilots and agents.
- AI Observability: Extends visibility by showing how agents interact with files and data sources. Without this, you have a Digital Insider with no oversight.
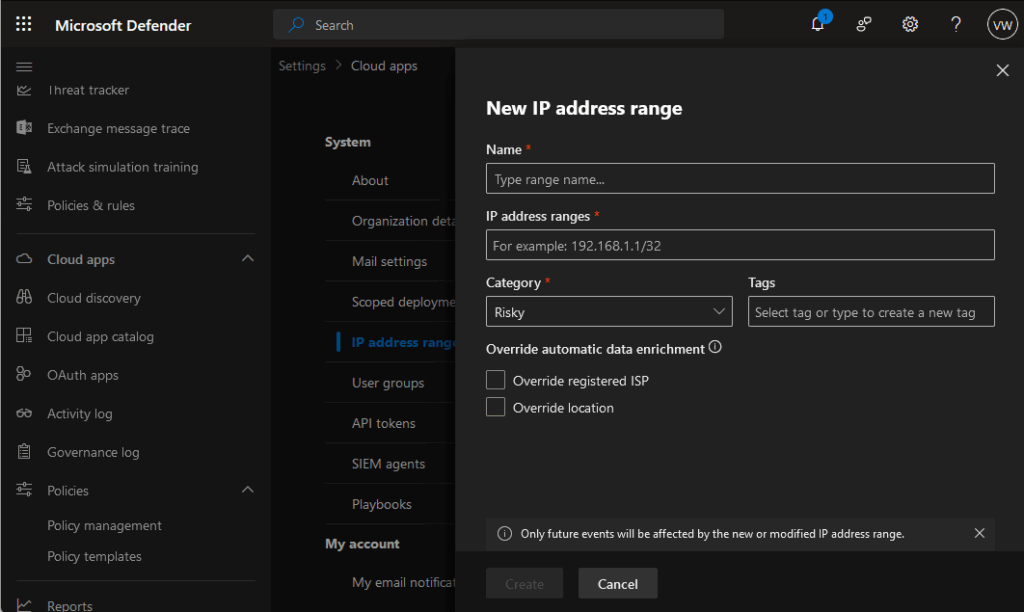
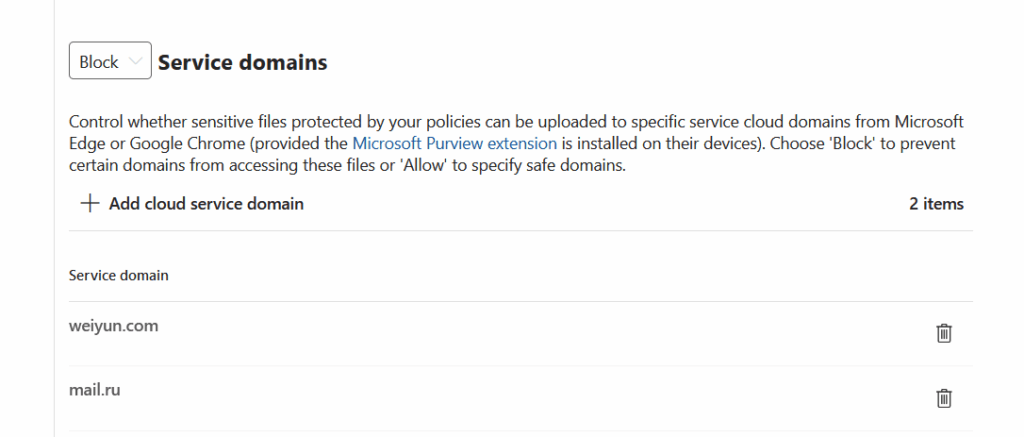
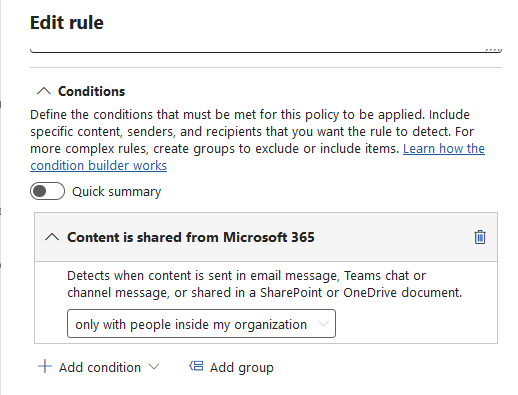
- DLP for AI Services: Controls what can be pasted, uploaded, or transferred to AI apps and unmanaged destinations. The built-in ‘Generative AI sites‘ group makes this straightforward to deploy.
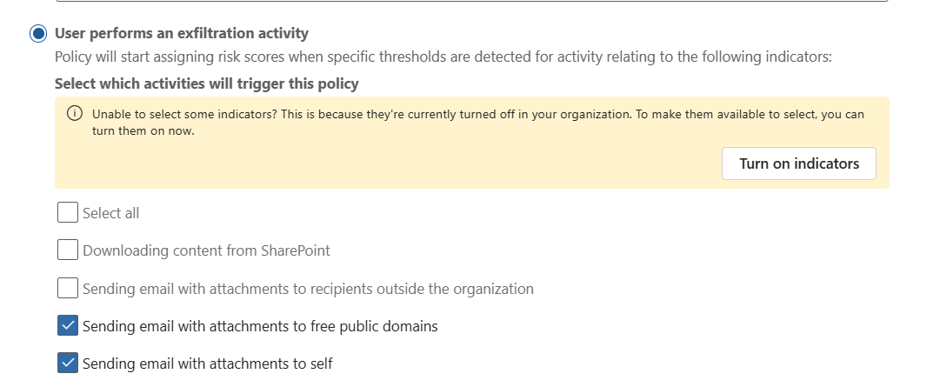
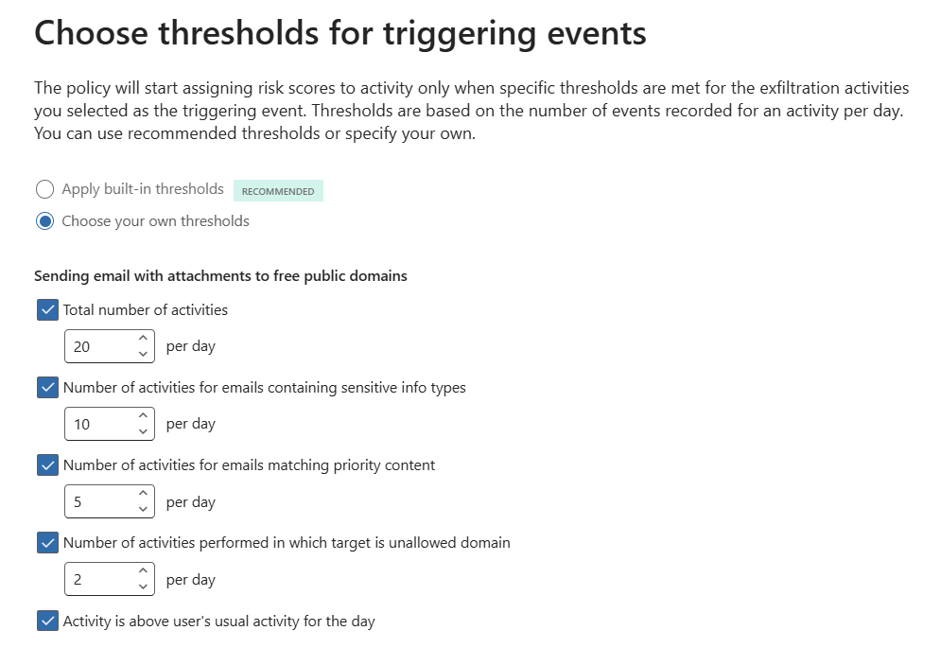
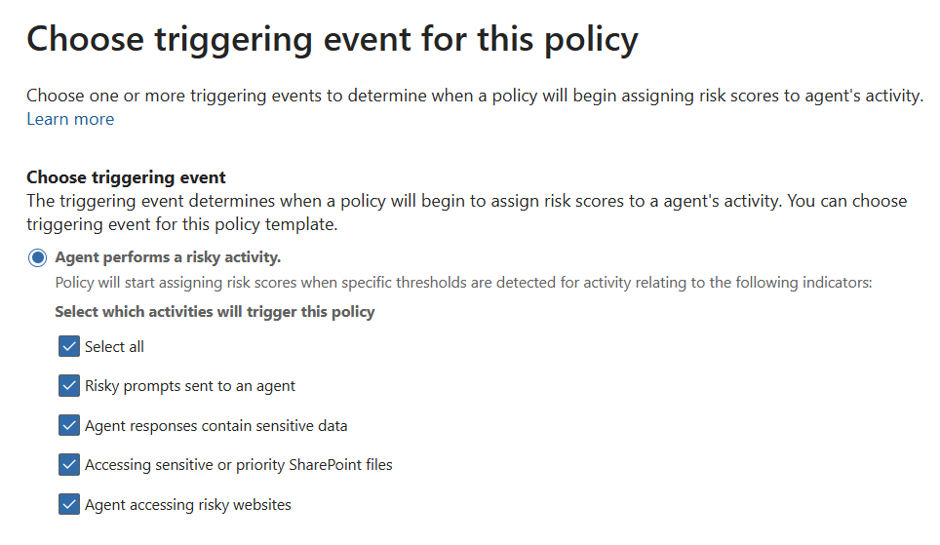
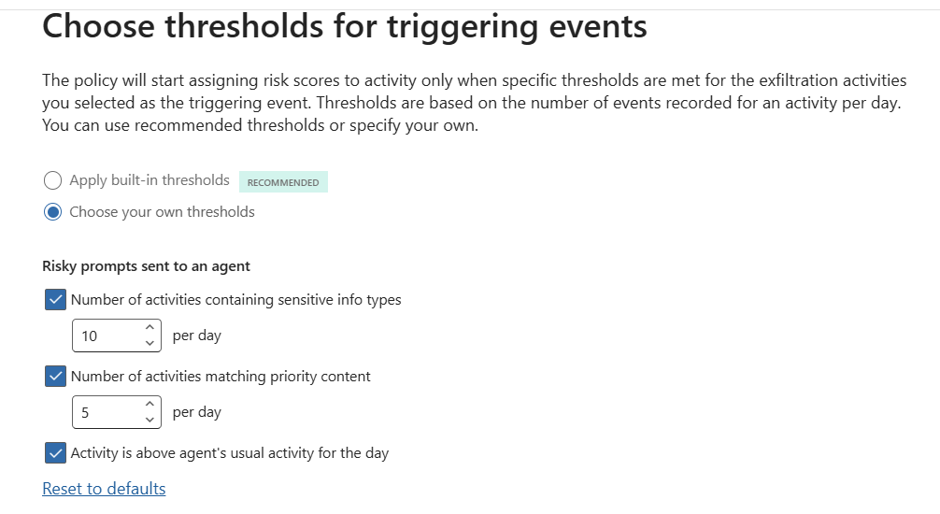
- Insider Risk Management (IRM): Adds behavioural context by correlating risky AI prompts, sensitive responses, exfiltration signals, and agent activity into a complete picture of risk.
- Adaptive Protection — Dynamically adjusts DLP and device control policies based on the risk level of the user (or the agent). A high-risk agent session triggers stricter clipboard, print, and upload controls in real time.
Where to Start: A Practical Checklist
For practitioners, the message is clear. Treat agents as privileged actors, not just productivity features. Here is a practical starting point:
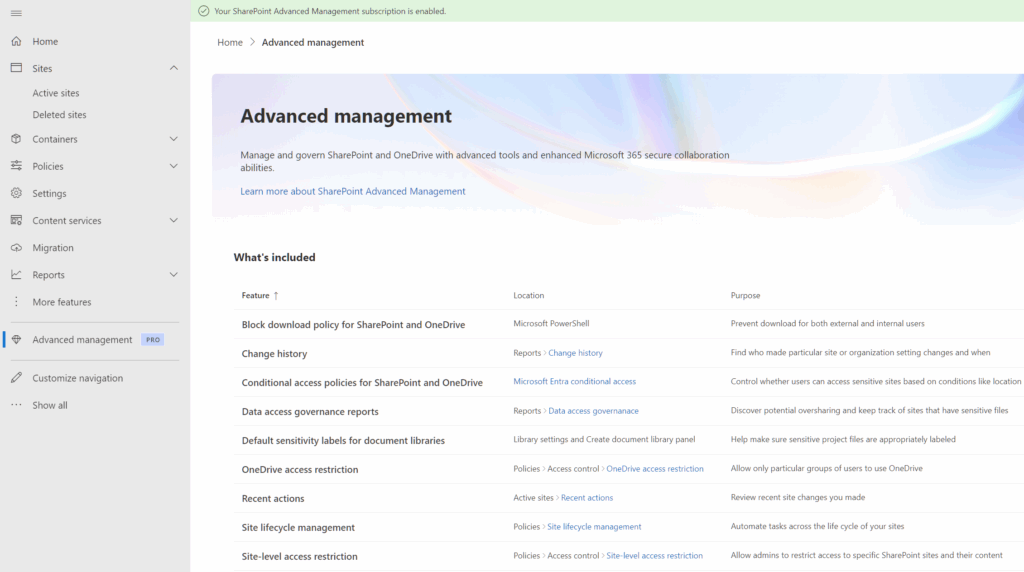
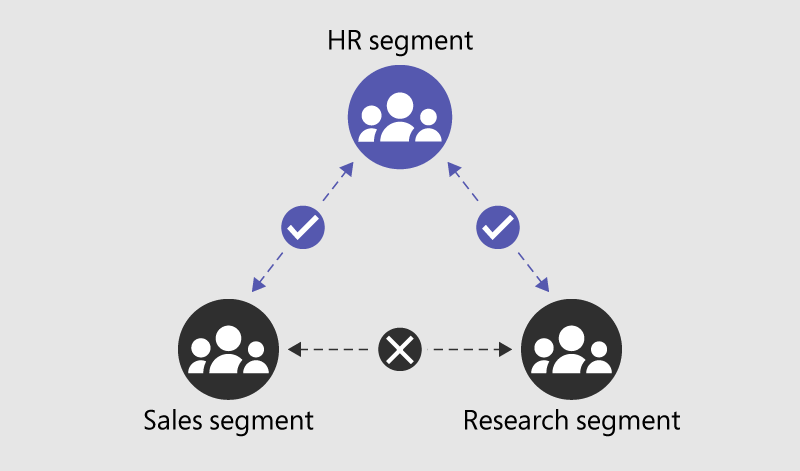
- Reduce oversharing in SharePoint and other collaboration systems — tighten permissions and audit ‘Anyone’ and ‘Everyone at Organisation’ links.
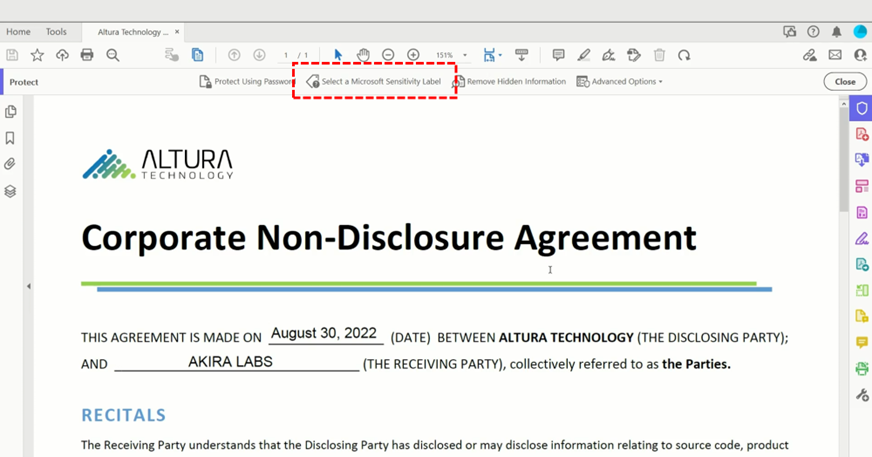
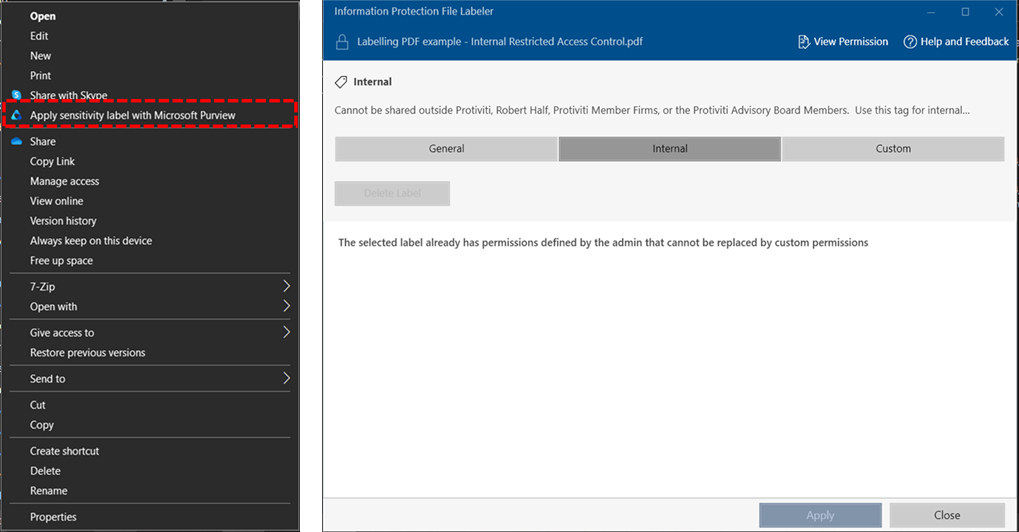
- Apply sensitivity labels across your data estate. Use auto-labelling and Trainable Classifiers to catch what manual labelling misses.
- Deploy and tune DLP policies — covering endpoints, cloud apps, email, and generative AI interactions.
- Enable DSPM for AI to discover which AI applications are connected to your environment and what data they can access.
- Configure IRM for agents to detect anomalous behaviour — excessive data access, unusual file retrieval patterns, or attempts to interact with restricted repositories.
- Build a cross-functional IRM steering committee. HR, Legal, IT, and Business Leaders all need a seat at the table.
- Publish a clear Acceptable Use Policy and conduct a DPIA before deploying monitoring at scale.